12 Ways to Control Drum Volume on Stage
This week I’d like to take on a topic that’s close to my heart. Putting the drummer behind a drum shield can create more problems then it solves. In many situations you can get a better result my implementing some of the following:
12 THINGS YOU CAN DO TO DITCH THE SHIELD!
THE PROBLEM:
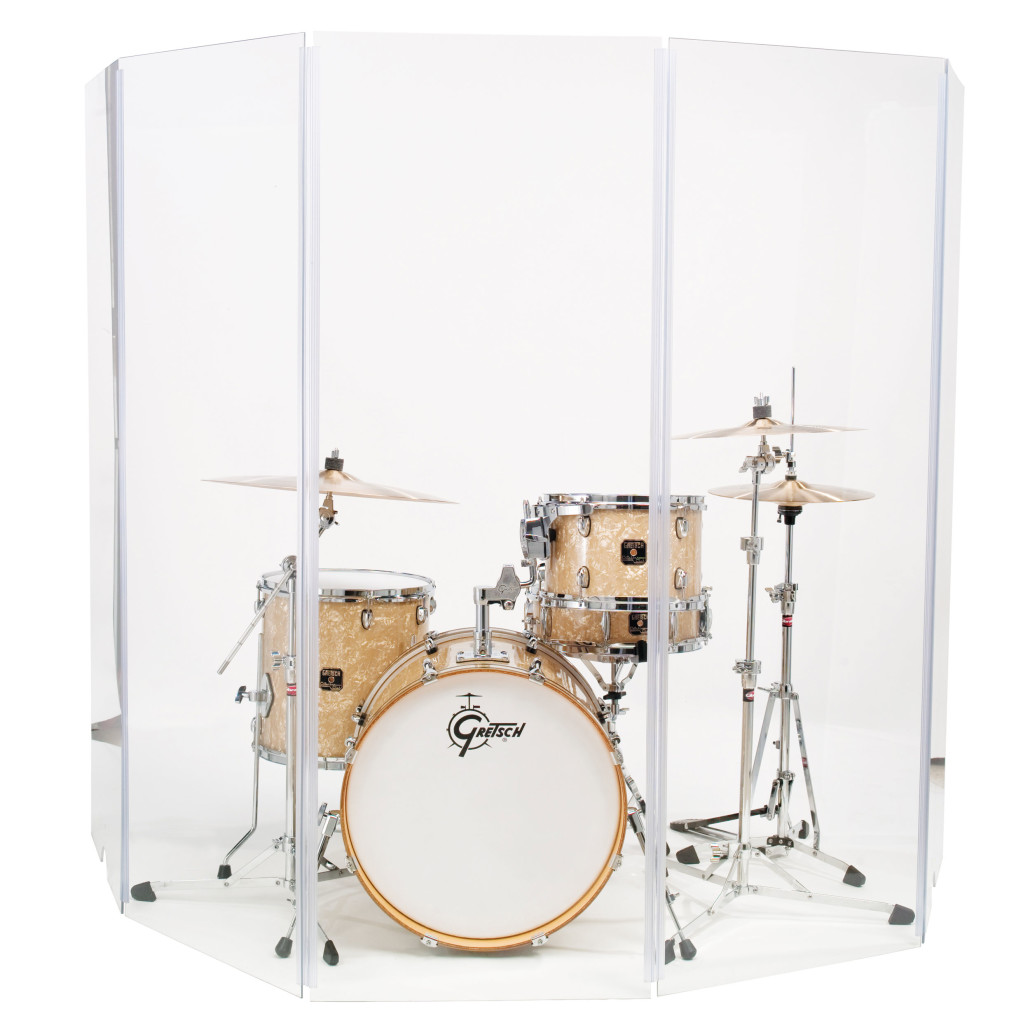
Clearsonic Drum Shield
Drum shields do not absorb sound, they simply reflect it back towards the drummer, the surfaces behind him and the microphones. For all of its effectiveness at reducing the stage volume for nearby musicians, it introduces new problems that reduce the clarity of the drums, distorting their sound and contributing to the chaos (noise) in the room.
No argument, drums can be loud. On stage some vocalists can’t handle the overall sound level and request a safe place to do their thing. In the house, the drums can excite the room, making it occur very loud even without engaging the sound system.
So the shields go up, and some relief is found…..
I believe, and have observed, that in many situations the are other far more effective ways to control the volume of the drums in a room, while achieve a more cohesive sound. If you are able to implement some of the recommendations in the article you may be able to take the shield down…
You’re going to meet resistance to the idea of getting rid of the shield. Try this experiment with your team or pastor: Fold the shield around the side of the drums so that it only presents a barrier to half the room. Walk the room from the protected side to the unprotected side and listen to the difference. What you’ll observe may shock you! In most rooms, as you pass from the shielded side to the unshielded side, it won’t be the volume of the drums in the room that changes, it will be the clarity of the drums that is affected most.
THE SOLUTION:
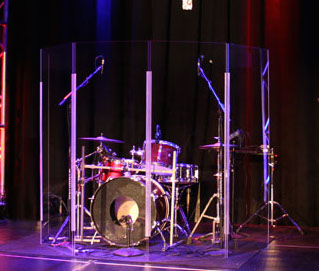
Drums at Church without a shield
Here are 12 strategies you can employ to manage the sound level of your drums in the room. I believe that drums can work in just about any room, without a shield, given that the following items are carefully addressed:
1) Last week we discussed building a house kit. Get your house kit dialed in, and tuned. Get the right cymbals, these are key steps in changing how the drums will occur to your community.
2) Get the right drummer. Great drummers play with sensitivity that is appropriate to the room, and appropriate for the song. They skillfully adjust their technique and intensity for the room and for the vibe of the ensemble.
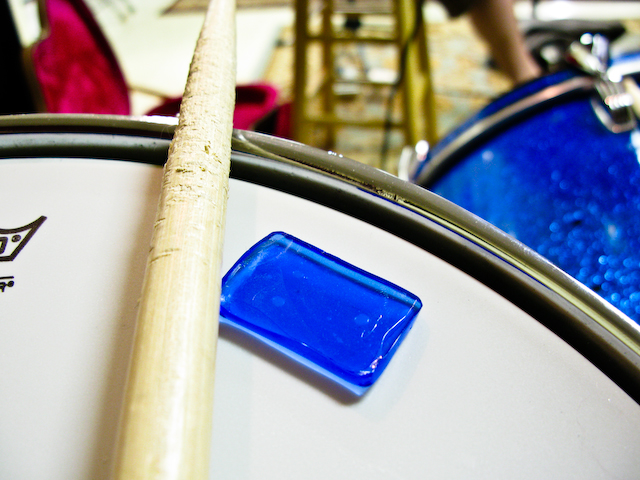
3) Dampening the drums is an essential part of managing their perceived acoustic sound level. I have observed some drummers cover their drums with fabric (bandana) or news paper to tone down their sound. In some situations this alone can achieve an appropriate stage sound level.
4) Targeting a RT60 (reverb time) of ~1 second. It is internationally recognized that a reverb time around 1 second is most appropriate for sound
re-enforced music. If you’re meeting in a gym, or a church designed for choir and organ you’re probably rocking a RT60 over 2 seconds. Lowering the RT60 will require the installation of sound treatment. NOTE: KUNGPOW can develop an acoustic treatment plan that you and your team can DIY.
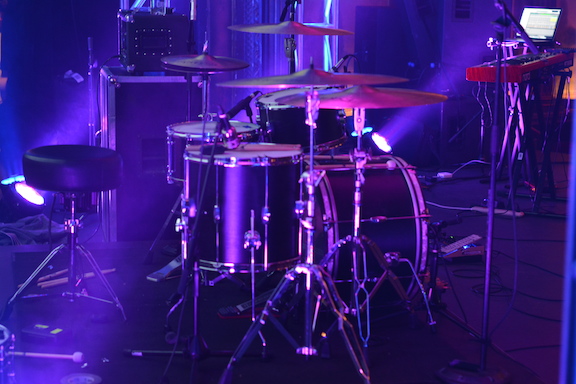
Small Room, Big Drum Tracks
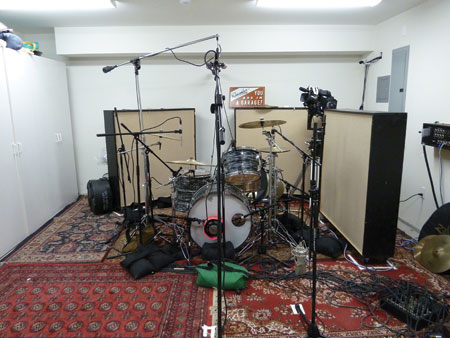
5) It really helps to put some deep absorption directly behind the kit. I prefer 4” thick Corning 703 (compressed fiberglass) with a two inch air gap between the material and the wall. This will soak up the sound that otherwise would reflect off the back wall and into the room. I suggest an 8’X8’ baffle behind the kit.
6) Much like the absorption behind the kit, a cloud above can be an effective way to reduce reflections off the ceiling. A floating 6’X6’ ~ 12’X12′ cloud made from 2” Corning 703 framed in wood will do a great job at keeping the sound off the ceiling. The overhead cloud can be floated as high as you like. The higher you go the wider the cloud should be…
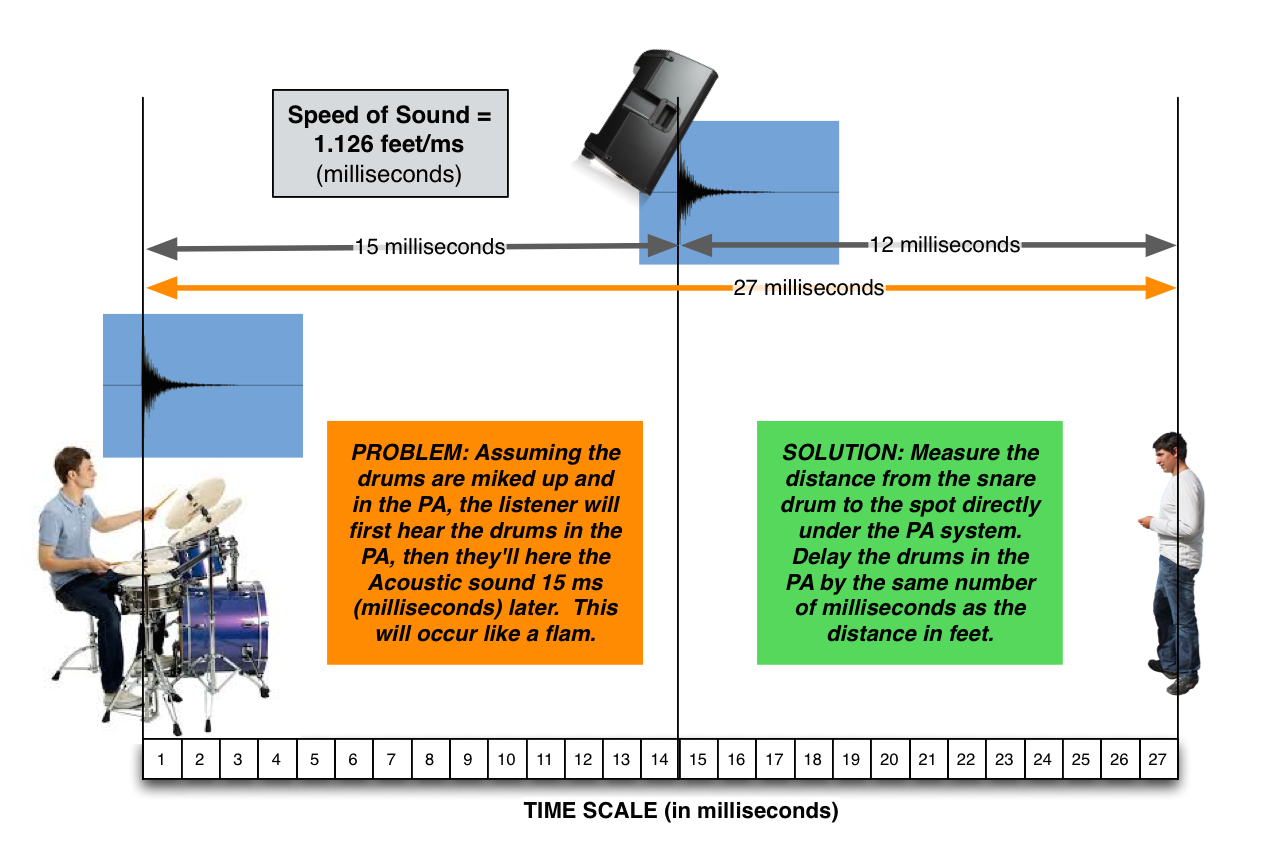
TIME ALIGNING THE PA TO THE ACOUSTIC DRUMS
7) Here’s a great tip to help clarify the drums in the room. Time align your PA so that the sound coming out the speakers is phase aligned in time with the acoustic sound of the kit. The process is complicated. You need to know the overall latency of your mixer and sound system. Or you can setup a mic out in the middle of the congregation and record the drums and PA together. Have the drummer play a rim shot, zoom into your recording to see the two attacks (one from the drums and one from the PA). Tweeze the delay on the output bus until these two signals align and become one! Or ask for help from your integrator!
8) Move the vocalists, strings, piano away from the drums, or use the shield to protect their ears. Re-cast the shield as a method to create a safe environment for sensitive instruments and microphones. This is an effective way to reduce the sound of the drums bleeding into sensitive microphones.
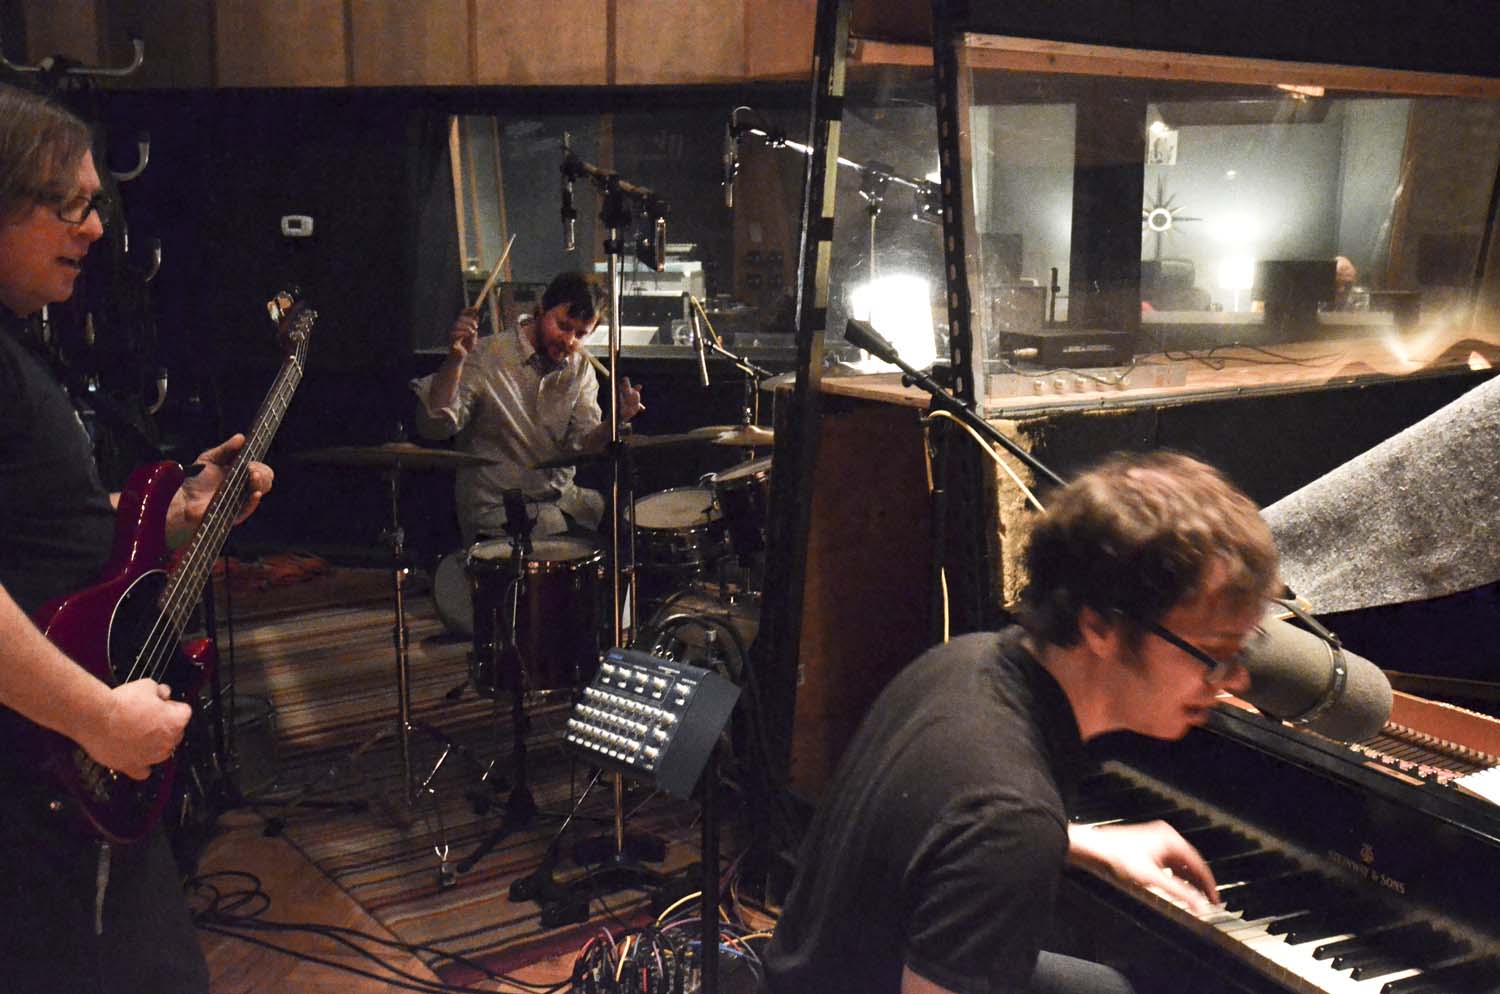
Ben Folds in the Studio
9) If you use an acoustic piano on stage, solo your piano mics to assess how much of the drums are bleeding in. Sometimes it helps to build a piano height baffle between the piano and the drums from plywood and 2” Corning 703 to help reduce the drums bleeding into the piano mics. In difficult situations, a thick black blanket over the lid can help too. Or for the ultimate solution ask us how to MIDI your grand piano and trigger a great piano sample to mix in.
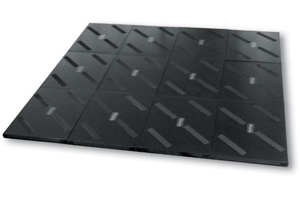
Auralex_HD88C HoverDeck
10) Float the drum riser. There are a number of commercial products to do this. They are effective in de-coupling the drums from the structure, which stops much of the mechanical energy of the drums from transferring and exciting the structure. The outcome can be subtle or dramatic depending on the construction of your stage. If you’re rocking a hollow stage, then floating the riser may be a great idea.
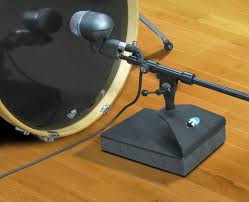
PrimeAcoustic KickStand
11) Reduce vibration noise on the kick and snare mics. The Primeacoustic Iso Kick stand reduces the stage vibration that negatively affects the sound of the kick mic. A shock mount for the snare mic effectually does the same. Every mic stand around the kit is vibrated by the mechanical energy of the drums. Tap the side of the mic with your finger to observe how vibration in the stand may be affecting the sound of your microphone.
12) Keep HiHat bleed out of the snare mic. Another Primeacoustic product, The CrashGaurd is effective at reducing cymbal bleed into the snare mic. I’ve seem home made mini-baffles online that address this issue too. Either way, something between the snare mic and the Hihat will help you clarify your drum sound.
So there you have it. 12 ways to reduce the volume of the drums in your room. I sure hope you get to take down your shield!
We would love to know what you think. Join the conversation and leave a comment below!
Know someone else who might benefit from receiving our weekly insights? Share this link with them so they can sign up. http://mad.ly/signups/27988/joinWe sincerely appreciate your referral.
Kungpow Production is on a mission to unlock creative freedom for artists, honor the commitment and energy of technicians and envelope and engage the community as they worship their Creator. For help with your next project reach out to us at info[at]kungpowpro.com

